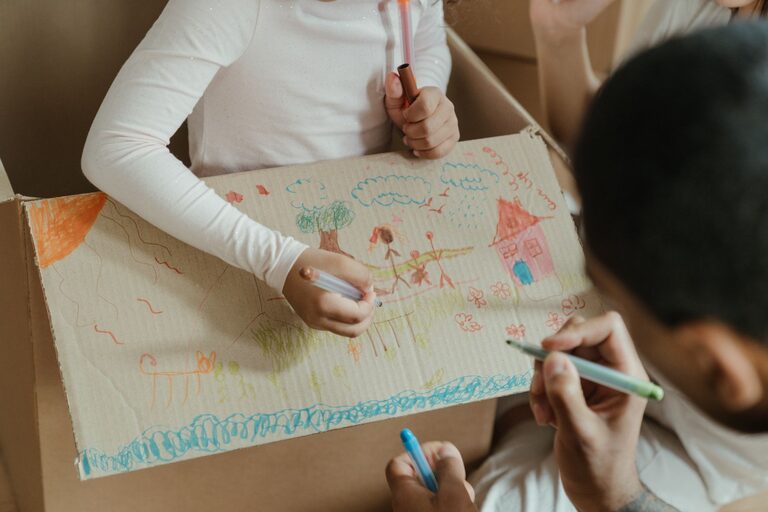
Organizing kids’ artwork can quickly become a challenge for many parents. From colorful drawings to school projects, these creations hold sentimental value but can also clutter your home. Finding effective ways to store and display art not only keeps your space tidy but also celebrates your child’s creativity. Here are some helpful tips for keeping kids’ art organized while preserving those special memories.
Why Organize Kids’ Art?
Children’s artwork is more than just paper; it reflects their growth, imagination, and personality. However, without a system, these pieces can pile up, making it difficult to find or enjoy them later. Organizing art helps:
– Reduce clutter and maintain a neat space
– Protect fragile or important pieces
– Showcase your child’s creativity
– Create a keepsake collection to look back on
Create an Art Station
Designate a specific space for your child’s art supplies and finished projects. An art station can be a small desk, a corner of a room, or even a portable cart. Keep materials like crayons, markers, paper, glue, and scissors in labeled containers. This encourages your child to put items away after use and keeps artwork from spreading throughout the house.
Tips for an Effective Art Station:
– Use bins or baskets for sorting supplies
– Install shelves or pegboards for easy access
– Include a flat surface for working on projects
– Make cleanup quick with wipes and trash bins nearby
Establish a Display Area
Children love seeing their work displayed, so create a dedicated space where art can be showcased proudly. This could be a wall, corkboard, wire grid, or magnetic board. Rotate the artwork regularly to keep the display fresh and engaging.
Ideas for Displaying Art:
– Clipboards on the wall to easily swap pieces
– Hanging strings with clothespins for a casual look
– Picture frames with interchangeable inserts
– Digital photo frames to show scanned artwork
Use Portfolios and Binders
For accumulated artwork that isn’t on display, consider organizing pieces by date or theme in portfolios or binders. This keeps pages flat and protected while making it easy to flip through the collection.
How to Use Portfolios or Binders:
– Use clear plastic sleeves to protect each piece
– Label sections by year, grade, or type of art
– Store large projects in expandable portfolios
– Keep binders accessible for easy viewing
Digitize Artworks
Scanning or photographing artwork allows you to keep digital copies without physical clutter. Digital archives can be organized on your computer or cloud storage and even turned into photo books or gifts.
Benefits of Digitizing:
– Space-saving and easy to share
– Creates backup copies in case originals are lost
– Allows creative projects such as calendars or collages
Repurpose Art Creatively
Transform some artwork into new items to enjoy in different ways. This can be especially fun for parents and children to do together.
Creative Ideas:
– Turn drawings into greeting cards or gift tags
– Laminate pieces to make placemats
– Use art as wrapping paper for gifts
– Create collages from smaller pieces
Regularly Review and Declutter
To prevent buildup, set a routine for reviewing the collection. Involve your child in choosing which pieces to keep, display, or recycle. This teaches decision-making and values their opinions about their work.
Decluttering Tips:
– Keep only favorites or milestone projects
– Photograph and store the rest digitally
– Recycle or donate unwanted paper art
Involve Your Child in the Process
Encourage kids to take part in organizing and caring for their artwork. Giving them responsibility fosters pride and helps maintain order.
Ways to Involve Kids:
– Let them pick pieces for display or storage
– Teach them how to use the art station
– Create sorting games to categorize artwork
– Celebrate their efforts with praise or small rewards
Conclusion
Keeping kids’ art organized doesn’t have to be overwhelming. With designated spaces, thoughtful storage solutions, and involvement from your child, you can preserve memories and reduce clutter. These tips not only protect your child’s creations but also encourage their artistic growth and self-expression. Start small, stay consistent, and turn organizing into a fun family activity. Your home—and your child—will thank you!
About the Author